This blog explains the integration option to export data entities from Dynamics 365 F&O into a Microsoft Azure SQL database.
D365FO provides a feature via a Data Management Frame called bring your own database (BYOD).
The BYOD feature lets D365 administrators export one or more data entities that are available in D365FO into an Azure SQL database.

BYOD can be done in two ways.
1. local Microsoft SQL Server database.
2. Microsoft Azure SQL.
My requirement is to move data from UAT to our own environment.
There is no data in my environment(dev).
In the UAT environment, there are 100 records available, and while testing on this UAT, we encountered errors.
The same data will be moved to our own environment, at that time we have to create our own database.
I will check on my own environment.
Here are the steps involved in the setup and connection enablement with the local Microsoft SQL Server database from D365FO.
1. Right-click on the database and create a new database

Enter the database name and click the OK button.
2. After creating the database, set up the login details for that specific database.

Enter the login name, select SQL authentication, and disable the 'Enforce Password Policy' option.
3. After creating the login details, go to 'Properties.' In the properties, select 'User Mapping,' choose your database name, and set the role membership.

Open Your D365 – Go to Data Management – Framework Parameters – Entity settings – Refresh entity list.


Configure Entity to Database – click New – Give Source name and Description and add Connection String.

Click the 'New' button to add the source name, description, and connection string in the specified format.

Format for Connection String
Data Source=serverName;Initial Catalog=databaseName;Integrated Security=False;User ID=PlaceholderUserId; Password=PlaceholderPassword;
server name:-DVHDN10032
database name:-DAXLocal
After entering the connection string, validate it to ensure it's correct.
before exporting, The entity you choose must be published.


Only the entity that you have published should be exported to our own database.
Open Your D365 – Go to Data Management – Export.
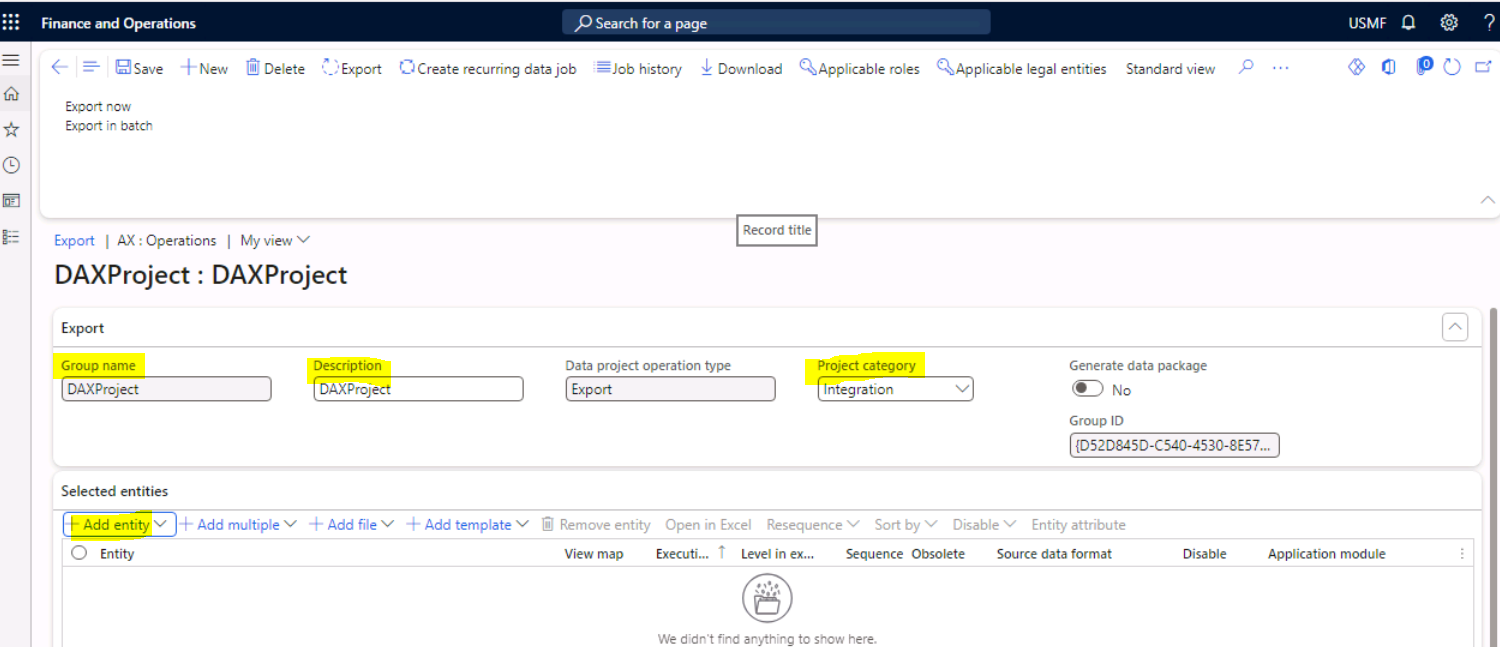
After adding your entity for export, enter the group name and description.

When entering the entity name and target data format for the first time pushing data from D365 to our own database, the default refresh type should be 'Full Push'.
second time pushing data from d365 to our own database, the default refresh type should be taken as "incremental push".
After completing the export of the data entity, proceed to our own database. Staging tables are created in our database.


Change tracking:-1.Enable primary table
2. Enable entire entity
3. Enable Custom query

Enable Primary Table:-Changes in the primary table affect the entity, but changes in secondary tables do not affect the level.
Enable entire entity:-Changes made to any fields in the entity trigger a change in the entity.
Enable Custom query:-We use a custom query to determine which tables need to have changes tracked. This custom query is set within the entity.
================================================
2. Microsoft Azure SQL.
The same steps are involved in the Azure SQL process as mentioned above.
the connection string is different in the Azure SQL process.
.PNG)

No comments:
Post a Comment